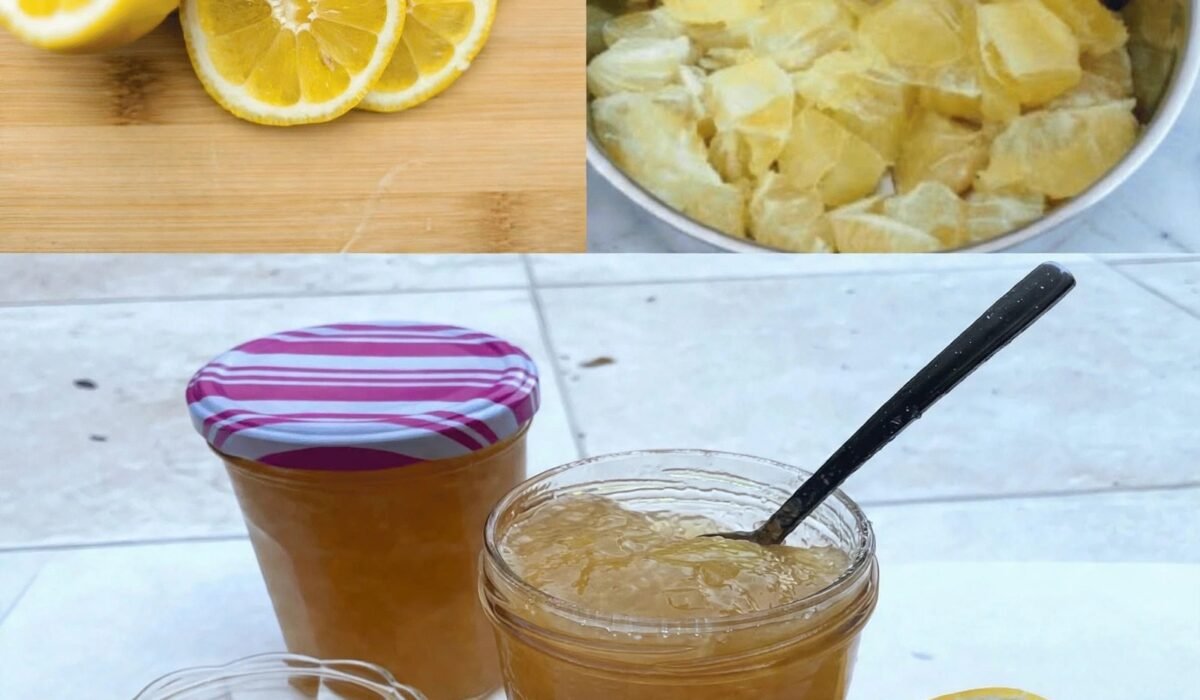


Here is a delicious homemade lemon marmalade, inspired by traditional Italian recipes. It has a melt-in-your-mouth texture, a beautiful golden color, and an intense aroma thanks to the zest retained in the preparation. Its delicate balance between sweetness and acidity makes it a unique marmalade, full of character.
The secret to this recipe lies in the preparation of the lemons: a prolonged soaking, followed by an initial cooking in water, softens the bitterness of their peel. Then, the fruit simmers gently with the sugar until you obtain a thick, glossy jam with small pieces of lemon. A true delight on toast, brioche, or simply with a good cup of coffee!
 Why you’ll love this jam
It allows you to enjoy the aroma of lemon in a generous, homemade preparation. Its melt-in-your-mouth texture, small pieces of fruit, and delicately tangy flavor are a refreshing change from classic jams. A simple recipe with only three main ingredients!
 Recipe information
| Quantity | Approximately 3 to 4 pots |
| Preparation | Approximately 20 minutes |
| Soaking | One night in the refrigerator |
| Cooking | Approximately 40 to 50 minutes in total |
| Difficulty | Easy |
| Ingredients | 3 ingredients |
 Ingredients
To prepare approximately 3 to 4 jars of jam, you will need:
- 1 kg of untreated lemons , preferably with thin and fragrant peel
- 700 g of sugar
- 250 ml of water , taken from the water used to cook the lemons
A little tip: choose fresh, firm lemons that haven’t been treated after harvesting, since their peel will be kept in the jam. Wash them thoroughly before you start.
 Step-by-step preparation
1. Wash and cut the lemons
Wash the lemons thoroughly under running water, gently rubbing their peel to remove impurities.
Dry them, then slice them into thin, even rounds. Carefully remove all the seeds, as they can give the jam an unpleasant bitterness.
Keep the peel and zest: they contribute to the characteristic aroma of this jam and give it a particularly delicious texture.
2. Soak the lemon slices
Place the slices in a large bowl and cover them generously with cold water.
Cover the bowl and let it soak overnight in the refrigerator. This step helps to soften the sometimes very bitter taste of the peel and prepares the lemons for cooking.
3. Perform the first cooking
The next day, drain the lemon slices and place them in a large saucepan. Cover them with fresh water.
Bring to a boil and cook for about 10 minutes. This initial cooking helps to soften the zest and further reduce its bitterness.
Drain the lemons, reserving 250 ml of the cooking water . This water will be used to prepare the syrup for making the jam.
4. Add the sugar and start making the jam
Return the drained lemon slices to the saucepan. Add the reserved 250 ml of cooking water, then pour in the 700 g of sugar.
Gently stir to distribute the sugar and heat over medium heat until it is completely dissolved. The lemons will then begin to absorb the syrup and release their aroma.
5. Thicken the jam
Cook over medium heat for about 30 to 40 minutes, stirring regularly to prevent the mixture from sticking to the bottom of the pan.
As it cooks, the slices become tender and the syrup gradually thickens. Keep an eye on the consistency: the jam should become glossy and slightly coating.
The exact cooking time can vary depending on the thickness of the slices, the variety of lemons, and the heat. Therefore, don’t rely solely on the cooking time: the cold plate test is still very useful.
6. Achieve a melt-in-your-mouth texture
When the lemons are very soft and the mixture has thickened, remove the pan from the heat.
Lightly blend with an immersion blender to achieve a smoother texture, while retaining some small pieces of lemon. Use short pulses to avoid completely turning the jam into a puree.
7. Check the consistency
Before putting the jam in jars, place a small spoonful of the mixture on a plate that has been previously placed in the refrigerator.
Let it cool for a few moments, then tilt the plate slightly. The jam should thicken and flow slowly. If it remains too runny, continue cooking for a few more minutes and repeat the test.
Keep in mind that the jam will thicken a little more as it cools.
Page 1 of 2